Learning how to clean Litter-Robot 3 safely starts with knowing which parts can handle water and which parts contain electronics.
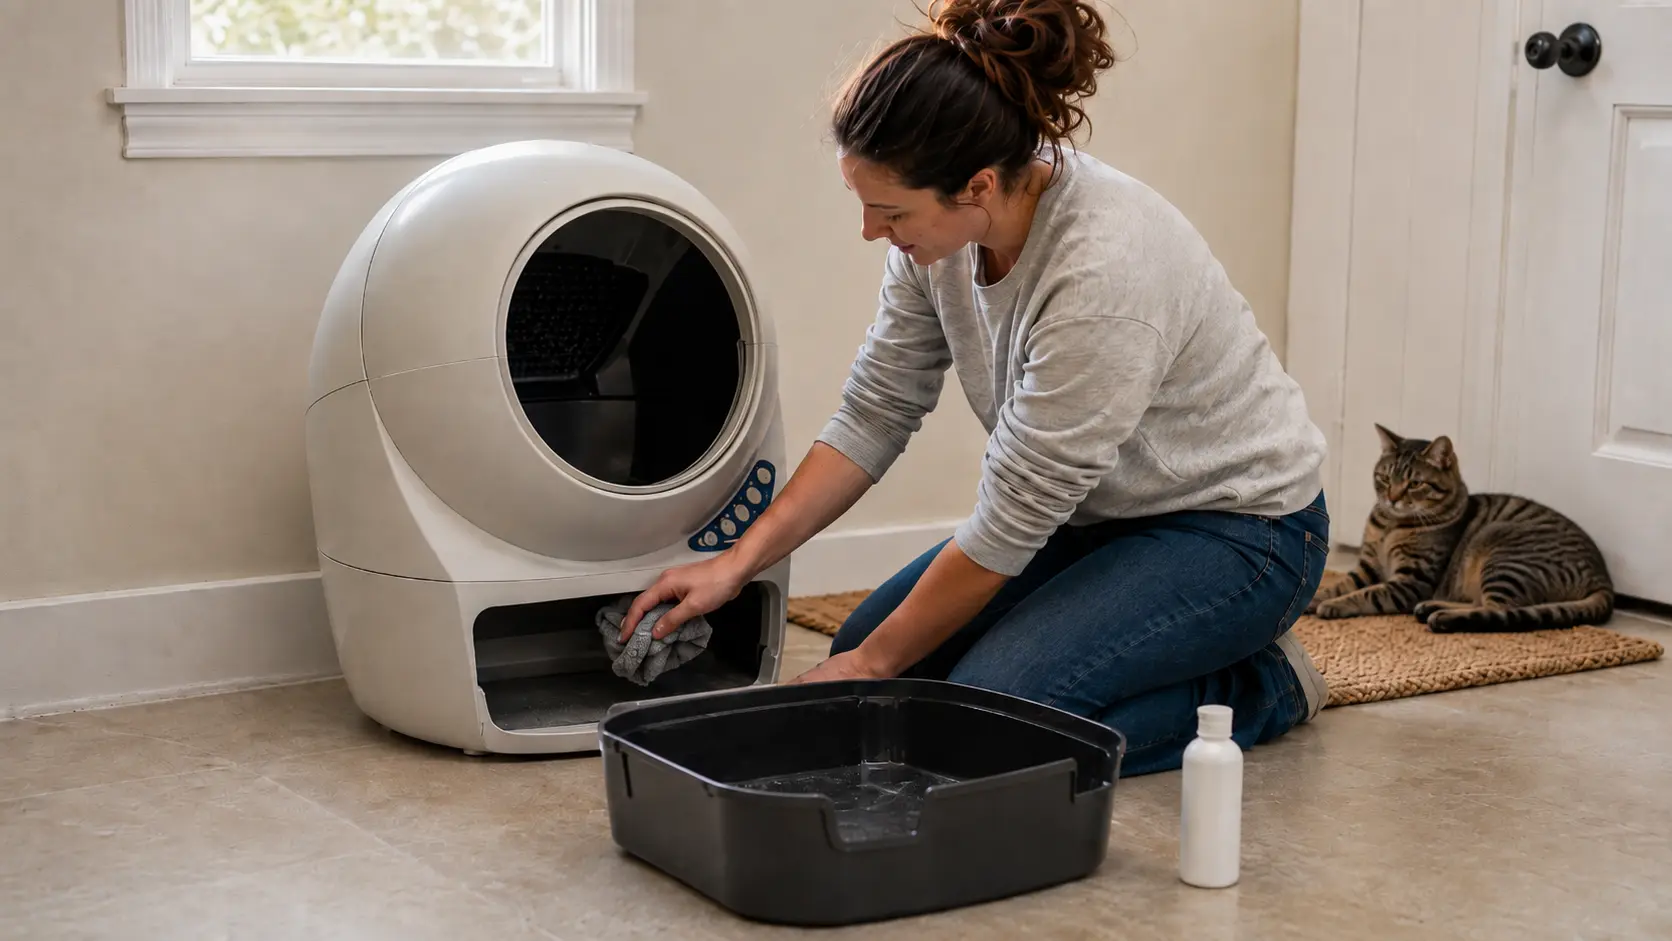
After removal, you can wash the globe, waste drawer, and step mat. The base and bonnet should only be cleaned carefully with a cloth because spraying or soaking them can damage electrical components.
A complete cleaning includes emptying the unit, removing the bonnet and globe, washing the non-electronic parts, cleaning the Drawer Full Indicator sensors, drying everything thoroughly, and watching the first cycle after reassembly.
Before cleaning: Turn off and unplug the Litter-Robot before removing the bonnet or globe. Never hose, spray, soak, or submerge the base, bonnet, control panel, power connection, or electrical components.
How We Researched This Litter-Robot 3 Cleaning Guide
This guide is based on current model-specific cleaning, disassembly, and Drawer Full Indicator guidance, supported by independent visual instructions and recurring owner questions about drying, odor, apartment cleaning, and post-clean errors.
Litter-Robot 3 and Litter-Robot 3 Connect are the main focus. Newer models are mentioned only where their cleaning instructions differ. We have not claimed personal ownership or hands-on testing.
How Often Should You Clean Litter-Robot 3?
The right schedule depends on the number of cats, litter type, odor, clump quality, and how much residue collects inside the globe.
A single-cat household with firm, low-mess clumps may need less frequent cleaning than a multi-cat home dealing with smearing or high-side urination.
Quick visible cleaning
Every few days, or whenever you notice residue:
- Wipe the entrance and exposed liner.
- Remove visible streaks or stuck litter.
- Shake loose granules from the step.
- Vacuum dry litter around the base when necessary.
- Check that litter has not collected in the globe tracks.
This does not require full disassembly.
Waste-drawer maintenance
Each time you empty the drawer:
- Remove the used bag.
- Wipe the drawer rim if it is dirty.
- Check for litter or residue near the Drawer Full Indicator area.
- Install the new liner smoothly beneath the drawer tabs.
- Reset the waste gauge in the app when applicable.
Do not wait for the drawer to become completely packed if odor is already noticeable.
Full globe cleaning
A complete globe cleaning is generally recommended at least every three months. Clean sooner when the machine has:
- Persistent odor
- Repeatedly stuck clumps
- Visible urine streaks
- Heavy liner buildup
- A dirty waste opening
- Loose litter around the tracks or sensor area
Cleaning may correct debris-related readings or movement problems, but it cannot repair every damaged sensor, motor, wire, or power component.
What You Need to Clean Litter-Robot 3
You do not need an expensive collection of branded cleaning products.
Prepare:
- Pet-safe cleaner or a mild soap verified as suitable for the surface
- Soft sponge or non-abrasive brush
- Microfiber cloth
- Vacuum with a suitable attachment
- Clean towels
- Fresh waste-drawer liner
- Replacement carbon filter when needed
- Gloves, if preferred
Avoid bleach, sharp scraping tools, metal brushes, and pressure washers.
Ammonia-based glass, mirror, or multipurpose cleaners should not be used around the Drawer Full Indicator components. Do not spray any cleaning product directly into the base.
How to Clean Litter-Robot 3 Step by Step
Step 1: Prepare a Backup Litter Box
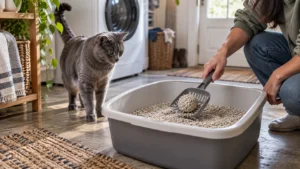
Choose a time when your cat has access to another clean litter box. The washed components may need several hours to dry, depending on airflow and humidity.
Step 2: Empty the Globe and Waste Drawer
Use the Empty function to send the remaining litter into the waste drawer.
Allow the cycle to finish, then remove any loose litter that remains inside the globe. Dry litter is easier to vacuum or brush away before water is introduced.
Pull out the waste drawer and remove the used liner. Dispose of the waste, then remove the carbon filter before washing the drawer.
If the carbon filter still looks intact and controls odor adequately, it may not need immediate replacement. Replace it when it becomes damaged, saturated, or noticeably less effective.
Step 3: Turn Off and Unplug the Unit
Switch off the Litter-Robot and unplug its power supply before removing the bonnet or globe.
Move the base away from the bathtub, shower, hose, or other wet cleaning area. This simple separation reduces the chance of accidentally spraying an electronic part.
Do not rely only on the power button. Unplugging the unit provides a clearer safety boundary while you handle the globe and bonnet.
Step 4: Remove the Bonnet and Globe
Release the bonnet latches on both sides of the base.
Carefully rotate or lift the bonnet away according to the LR3 arrangement. Set it in a dry location where it will not be splashed.
Lift the globe from the base by holding it securely near the entrance. Place it on a stable surface that can handle water and dirty litter residue.
A normal deep cleaning should not require opening the control panel, removing electrical covers, dismantling the base, or taking apart the motor area.
Step 5: Clean the Globe and Rubber Liner
Remove as much dry litter as possible before adding water. Wetting loose granules immediately can create a muddy paste that is harder to rinse away.
Wash the globe with mild soap and controlled water. Pay attention to:
- Rubber liner
- Sifting screen
- Waste opening
- Globe seams
- Litter pocket
- Areas where clumps regularly stick
Allow stubborn buildup to soften before scrubbing it with a soft sponge or brush. Do not use a knife, screwdriver, or hard scraper on the rubber liner.
Sharp tools can cut or weaken the liner and create new places where litter catches.
Rinse until no visible soap or cleaner remains. Rotate and tilt the globe during rinsing so water reaches the sifting screen and hidden edges.
Step 6: Wash the Waste Drawer and Step Mat
Wash the empty drawer separately with mild soap and water.
Clean the corners, upper rim, and filter area, where odor and fine residue may collect. Rinse it thoroughly and check that no waste or cleaner remains beneath the edges.
Remove loose litter from the step mat by turning it over and flexing it gently. Brush away granules that remain trapped in the grooves, then rinse the mat separately.
Do not reinstall the carbon filter until the drawer is dry. A damp filter can hold moisture and odor rather than improving the drawer environment.
Step 7: Clean the Base and Bonnet Safely
Start with dry cleaning.
Vacuum loose litter from accessible areas around the base, tracks, and waste opening. Removing granules first prevents them from turning into streaks when you wipe the plastic.
Apply a small amount of appropriate cleaner to a cloth. Wipe accessible surfaces without allowing liquid to run into:
- Electrical connections
- Metal contacts
- Control openings
- Motor area
- Wiring areas
- Power connection
Clean the bonnet in the same controlled way. It may look like a simple removable cover, but it should never be submerged, rinsed under a tap, or sprayed with a hose.
Step 8: Clean the Litter-Robot 3 DFI Sensors
DFI stands for Drawer Full Indicator.
The sensor components are located around the waste opening above the drawer. Dust, fur, litter residue, or a raised waste-drawer liner can interfere with how the system reads the drawer.
Use a clean, dry microfiber cloth to remove loose dust. When necessary, use a slightly damp cloth while preventing moisture from entering surrounding electrical areas.
Avoid ammonia-based window, mirror, glass, or multipurpose cleaners around the sensor brackets.
Do not scrape, sand, bend, coat, or modify the sensor parts. Visible corrosion or repeated drawer-full errors after careful cleaning may point to a damaged component rather than ordinary dirt.
Also inspect the drawer liner. The bag should sit beneath the tabs without rising above the drawer rim and blocking the sensor’s view.
How to Dry and Reassemble Litter-Robot 3
Drying is not a minor final step. Moisture left inside the globe can cause fresh clumping litter to stick, harden, or collect around the waste opening.
Drain and dry every washed component
Tilt the globe in several directions to release trapped water.
Use clean towels on accessible surfaces, then leave the globe, drawer, and step mat in a well-ventilated area. Check the liner, seams, sifting area, waste opening, litter pocket, and drawer corners.
There is no dependable universal drying time. A globe cleaned outdoors on a dry day may be ready sooner than one left in a humid bathroom.
Check for hidden moisture
Before reassembly, confirm that:
- No visible droplets remain.
- No water drains when the globe is tilted.
- The rubber liner feels dry.
- The waste opening and surrounding seams are dry.
- The litter pocket is dry.
- Drawer corners are dry.
- Nothing can drip onto the base.
- Fresh litter will not touch a damp surface.
Do not add clumping litter to a globe that is “mostly dry.”
Reassemble the machine carefully
Place the globe straight onto its tracks.
Check that the black key is returned to the correct pocket or opening. Incorrect key positioning can interfere with normal globe movement.
Reinstall the bonnet by placing its tabs correctly and securing both side latches. The bonnet should sit evenly rather than resting loosely on one side.
Install a fresh drawer liner beneath all retaining tabs. Smooth the bag so it does not rise above the drawer rim, then slide the drawer fully into place.
Add suitable litter without exceeding the maximum fill line. Once the unit is back in the Home position, press the Reset button after cleaning or changing the litter level. This recalibrates the Litter-Robot 3 cat sensor for the unit’s current weight. Overfilling can increase tracking, resistance, and cleaning problems.
For help choosing a litter that forms firm clumps without creating excessive residue, see our guide to the best litter for Litter-Robot.
Run and observe a test cycle
Reconnect power and allow the machine to complete its initial cycle.
Stay nearby and check that:
- The globe rotates normally.
- The bonnet remains correctly detected.
- The drawer stays fully inserted.
- No unusual sound or movement occurs.
- The unit returns to its home position.
- No warning light or app message remains.
Do not return immediately to unattended automatic use if the globe moves unpredictably or produces a persistent fault.
What Parts of Litter-Robot 3 Can Get Wet?
The safest approach is to divide the machine into washable parts and electronic parts before you begin.
Parts you can wash after removing them
The following components do not contain electronics and can be washed separately:
- Globe
- Waste drawer
- Removable step mat
Remove these parts from the base before using water. They can be cleaned in a bathtub, shower, utility sink, or outdoors with controlled water pressure.
Parts that must not be soaked or sprayed
Keep these components away from running water:
- Base
- Bonnet
- Control panel
- Power connector
- Electrical contacts
- Motor and wiring areas
You can carefully wipe accessible plastic surfaces, but apply cleaner to the cloth rather than spraying it directly onto the machine.
Do not assume the bonnet is a normal plastic cover. It contains electrical connections and should not be washed like the globe or drawer.
How to Clean Litter-Robot 3 Without a Hose
A garden hose is convenient, but it is not required.
Remove the globe, drawer, and step mat, then take only those washable parts into a bathtub, shower, or large utility sink. Keep the base and bonnet in a separate dry room.
A removable showerhead, bucket, or low-pressure stream gives you more control than a powerful spray.
Remove all loose litter before rinsing. Use a drain screen or another suitable barrier to prevent litter granules and clumps from entering household plumbing.
A complete wash is not always necessary for one small liner mark. For minor residue, empty the globe, expose the dirty area, wipe it with a suitable cleaner, and let it dry completely before adding litter again.
Litter-Robot 3 Not Cycling After Cleaning
If your Litter-Robot 3 does not cycle normally after cleaning, first confirm that the globe is seated correctly, the black key is in its pocket, both bonnet latches are secure, the drawer is fully inserted, and the unit is on a firm, level surface. Press Reset after cleaning or changing the litter level.
If the unit still shows flashing lights, pinch-detect warnings, sensor errors, or interrupted cycles, use our guide to Litter-Robot not cycling for model-specific troubleshooting. Avoid repeatedly disassembling the machine when cleaning has not solved the fault.
What to Do About Stuck Litter or Persistent Odor
Stuck litter is easier to remove after it has softened.
Apply mild cleaner and water to the washable globe, allow the residue to loosen, and use a soft sponge or brush. Scraping aggressively may damage the rubber liner without removing the cause of the problem.
Persistent odor can come from several places:
- Waste left in the drawer too long
- Residue inside drawer corners
- Dirty waste opening
- Saturated carbon filter
- Damaged or heavily contaminated liner
- Weak clumps that smear during cycling
- Hidden buildup that normal wiping does not reach
Litter performance matters. A dusty or weak-clumping formula may leave more residue behind than a litter that forms firm, dry clumps.
Cleaning is not always enough. Contact the manufacturer or use the correct replacement procedure when you find damaged liner material, corrosion, suspected electrical damage, or repeated faults after correct cleaning and reassembly.
Common Litter-Robot 3 Cleaning Mistakes
Avoid these common errors:
- Hosing or spraying the electronic base
- Soaking or washing the bonnet
- Spraying cleaner directly into the machine
- Using bleach or ammonia-based products around sensors
- Scraping the rubber liner with a sharp object
- Adding litter before the globe is completely dry
- Installing the globe or black key incorrectly
- Leaving the drawer liner above the rim
- Filling litter above the maximum line
- Removing screws during every routine cleaning
- Assuming a deep clean will repair every cycling or sensor fault
If the unit still has problems after cleaning, identify the exact warning before taking anything else apart.
Cleaning Litter-Robot 4, 5, and EVO Is Different
Do not apply every LR3 instruction to a newer Litter-Robot.
Litter-Robot 4
LR4 uses a different bezel, filter arrangement, and OmniSense sensor system. Its sensor-cleaning and disassembly procedures should follow the LR4-specific official guide.
Litter-Robot 5 and 5 Pro
These models use different controls, displays, curtain-sensor components, and globe assembly details. Some versions may also include camera-related hardware that requires model-specific care.
Litter-Robot EVO
EVO has its own bezel, controls, scale feet, drawer arrangement, and sensor-cleaning procedure.
Always confirm the exact model before cleaning around sensors or following button sequences. A method that is appropriate for LR3 may not be suitable for LR4, LR5, or EVO.
For a broader look at how cleaning demands differ among machines, see our guide to automatic self-cleaning litter boxes.
What to Do if Litter-Robot 3 Does Not Work After Cleaning
Start with the parts you handled:
- Confirm that every washed component is dry.
- Reseat the globe in its tracks.
- Check the black key.
- Secure both bonnet latches.
- Make sure the drawer liner is flat.
- Push the drawer fully into place.
- Remove loose litter from tracks and openings.
- Identify the exact light or app warning.
- Run one observed test cycle when safe to do so.
Do not repeatedly restart a machine that makes unusual noises, moves unpredictably, or shows signs of electrical damage.
Persistent drawer-full, bonnet, pinch-detect, power, motor, or cycling problems need model-specific troubleshooting. Cleaning the sensors may help with debris-related faults, but it does not prove that the underlying components are working correctly.
Frequently Asked Questions
Can you hose down a Litter-Robot 3?
You can wash the removed globe and waste drawer because they do not contain electronics. Do not hose, soak, spray, or submerge the base or bonnet. Keep the electronic components in a separate dry area while washing the removable parts.
How often should you deep-clean Litter-Robot 3?
A full globe cleaning is generally recommended at least every three months. Clean sooner when you notice strong odor, smearing, stuck clumps, dirty sensors, or heavy buildup. Multi-cat households may need more frequent maintenance.
What cleaner can you use on Litter-Robot 3?
Use an appropriate pet-safe cleaner or mild soap on the washable components. Avoid bleach and abrasive products. Do not use ammonia-based glass or multipurpose cleaners around the Drawer Full Indicator sensor components.
How long should Litter-Robot 3 dry?
Dry it until no moisture remains in the liner, seams, waste opening, litter pocket, or drawer corners. There is no fixed drying time because airflow, humidity, temperature, and the amount of water used all affect the result.
Can you vacuum the Litter-Robot 3 sensors?
A vacuum can remove loose dry litter around accessible base areas, but the DFI sensor components should be handled carefully. Use a clean microfiber cloth rather than pressing a hard vacuum attachment against the lenses or brackets.
Why does the drawer still say full after cleaning?
Possible causes include dirty DFI components, a liner rising above the drawer rim, debris near the waste opening, an app gauge that needs resetting, corrosion, or a damaged sensor. Recheck the drawer installation before assuming the sensor needs replacement.
What should I do if my cat avoids the box after cleaning?
Keep a backup litter box available and consider adding a small amount of familiar, clean litter to the globe. Allow your cat to approach on its own rather than placing or forcing it inside.
Final Litter-Robot 3 Cleaning Checklist
Knowing how to clean Litter-Robot 3 properly means protecting the electronics as carefully as you wash the globe.
Empty the machine, unplug it, remove the bonnet and globe, wash only the non-electronic parts, wipe the base and sensors carefully, and let everything dry completely. Reinstall the globe, black key, bonnet, drawer liner, and drawer before adding litter below the fill line.
Finally, observe a complete test cycle. Regular cleaning can reduce preventable buildup and debris-related problems, but persistent electrical, motor, or sensor faults require separate troubleshooting or manufacturer support.